We’ve all heard the expression “a picture is worth a thousand words”. It’s especially true for the pictures on your website. Yet very few party rental companies take the time to make sure their product photos do their inflatables justice.
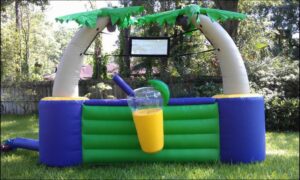
In real-life the inflatables are big, bright and colorful. But on the website they are little, dull and boring.
Camera phones take great photos now, but that doesn’t mean that the photo couldn’t use a little editing help. Do you think a photo in a magazine or professional website ever gets there without editing? Of course not. And you should treat the photos on your website with the same respect.
Your customers (and their kids) are making their inflatable selection based on your website photos. It’s important that what they see online conveys the excitement of your products.
I think the problem of poor quality photos online stems from many of us just not realizing how easy it is to fix the problem.
In this post I’m going to take you step-by-step through the process of transforming a dull picture into one that pops!
There are free online photo editors that make this process simple. The one I use is called PicMonkey.
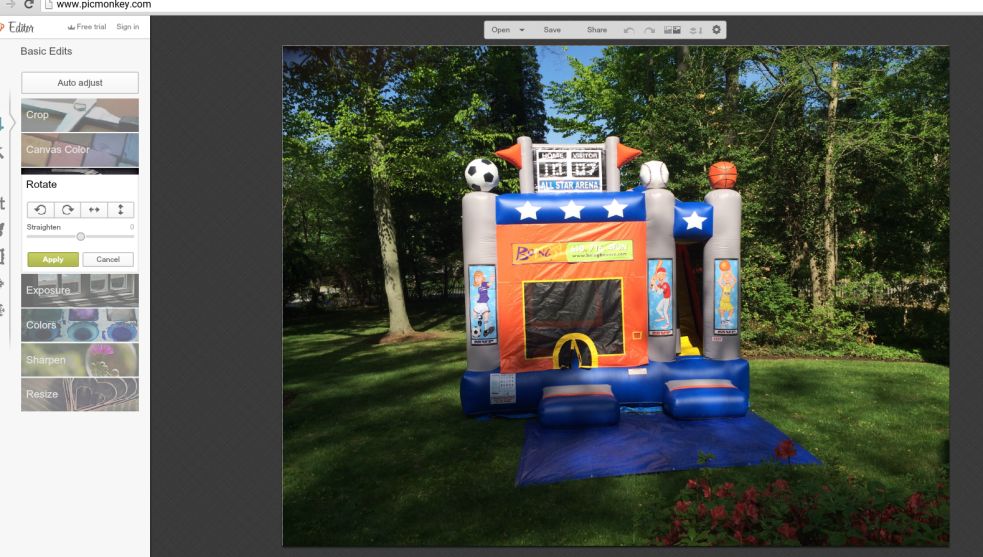
Step 1: Choose Your Photo
Go to PicMonkey.com, click the Edit icon near the top of the screen. This will open a window that will allow you to select the photo from your computer. It also gives you the option of choosing a photo from Facebook as well.
Step 2: Straighten
Does the inflatable in your picture already look straight? If so, then skip this step. But if it looks a little crooked, here is where you fix it.
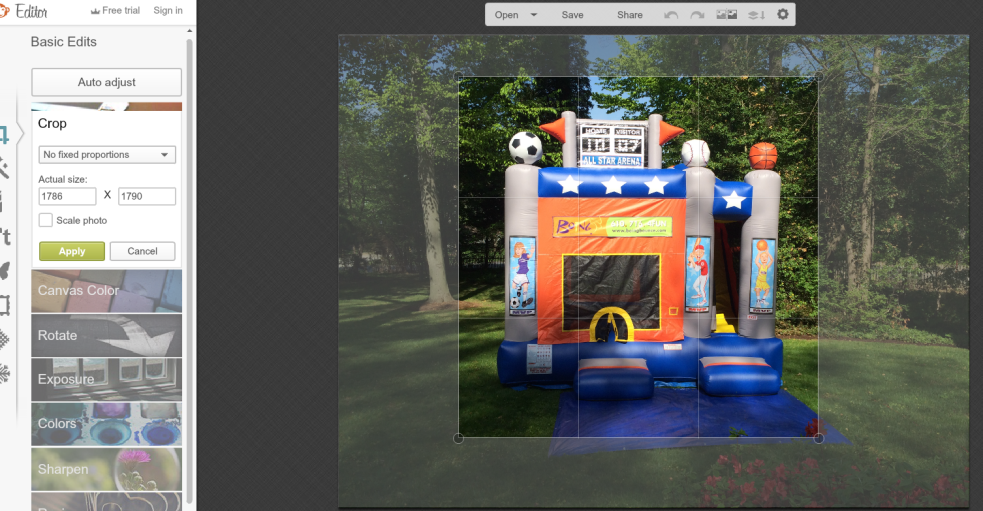
Step 3: Crop
The customer wants to see the inflatable, not the scenery around it. But use your judgement here. Sometimes objects in the background help show the scale of the inflatable. I much prefer pictures taken “in the wild” versus the plain white backgrounds on the photos you may lift from the manufacturer’s website.
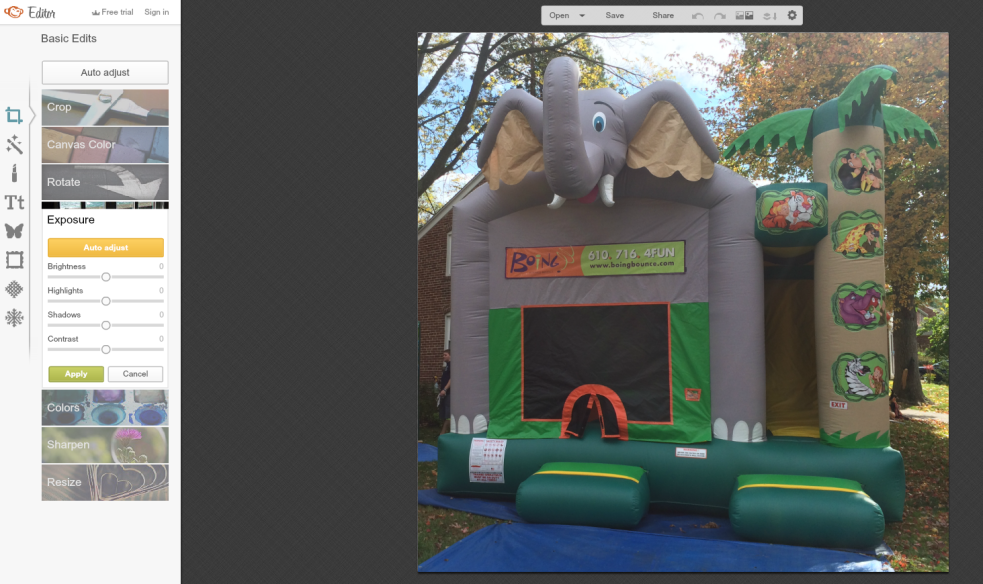
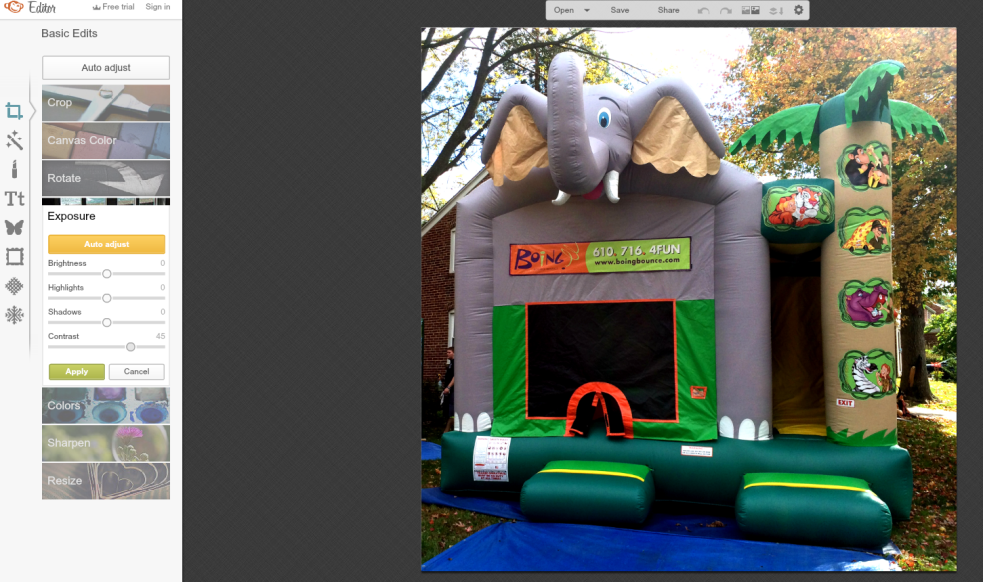
Step 4: Contrast
Depending on the lighting and positioning of the sun when you took the photo, you may need to up the contrast to make the photo start to pop. Play around with the slider until you like the look.
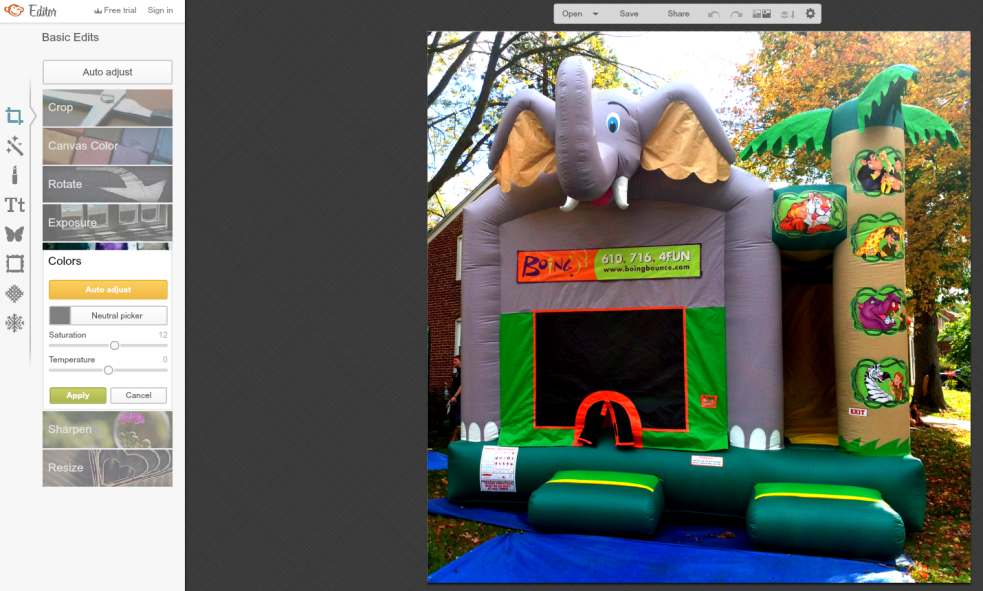
Step 5: Color Saturation
This is the step that really adds the pop. In my opinion, you need to add color saturation for the picture to capture the color of “real-life”. Even if it is exaggerated a little. But don’t add too much color saturation or it will start to look fake.
That’s pretty much it. There are a lot of other settings in PicMonkey that you can play around with, but these simple steps are the ones that will get you the most bang for your buck and make your pictures look awesome!